
Composite decking is fast becoming a popular alternative to traditional timber. A sustainable, stylish, and low maintenance option, composite decking perfectly emulates real wood, whilst offering a wealth of benefits, including ease of installation.
What is composite decking?
Composite decking is made from a combination of wood fibres, plastics and bonding agents. The result is a deck board that is far more durable than timber, whilst being extremely low maintenance.
Composite decking can also be a wise environmental choice. Ecodek boards consist of 95% recyclable and sustainably-sourced materials, making them a very eco-friendly option when it comes to composite decking.
You can design your decking to fit your style. Composite decking comes in a variety of colours. Grey composite decking offers a more contemporary look whereas brown composite decking looks more natural.
Is installing composite decking simple?
Composite decking boards are relatively simple and straightforward to install, and if you’re a competent DIYer, you should be able to lay the boards yourself. (However, if you’re unsure, we would always recommend employing the services of a professional – contact us for a list of Approved Installers).
If installing yourself, it’s extremely important to follow the manufacturer’s guidelines to ensure a precise and professional finish. Always pay special attention to the gaps required between your boards and sub-structure spacing and expansion tolerances, as this will keep your deck in top condition for years to come. Also, if you don’t follow these instructions, you could invalidate your warranty.
Stages to installing composite decking
1. Laying your sub-structure
When installing composite decking, you’ll first need to lay a frame or sub-structure. Whilst timber bases are common, we would recommend using a composite frame, as this will last much longer as it will not rot or splinter.
A typical substructure will have corner posts cemented at least 300mm into the ground. Then additional posts every 500 to 1500mm (including in the centre), depending on whether you’re using timber or composite. You will then need to attach joists to create a frame and bearers to add more support. Noggins will also help prevent the frame from twisting.
Ensure the frame is level at this stage to help prevent a wavy surface.
Instead of using timber or composite posts you may decide to use decking pedestals. These are a great option when laying your decking on a hard surface, such as a patio or concrete.
You should never lay decking directly onto any surface, soil or concrete, as space below the decking is required for drainage.

2. Laying the top deck boards
Once your frame is in place, you can begin to lay the deck boards. These should be laid in the opposite direction to the bearers. We recommend starting on the outside of the deck and working towards the building / wall. This way, if any board needs cutting down to fit, the cut side will be against the wall.
What are expansion gaps?
Expansion gaps are crucial when fitting your new deck boards. These allow the boards to expand and contract during thermal changes. If these gaps are not left, the boards can warp e.g become unstable and out of line. This can affect both the safety and the aesthetics of a deck. Again, always follow the manufacturer’s instructions.
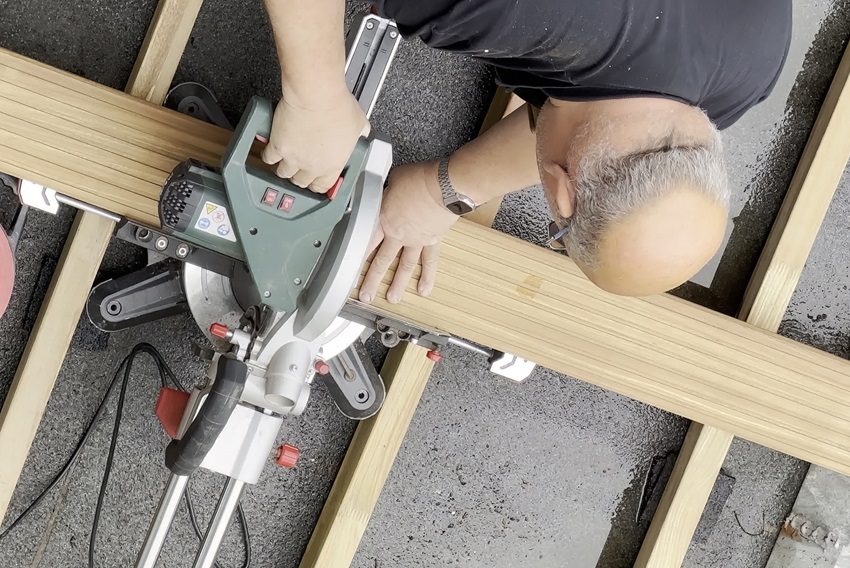
3. Cutting your boards
Before installing your boards you will most likely need to cut some down to size to fit. Check out our guide on how to cut composite decking. Remember, if you buy Ecodek boards you can request specific lengths from 1.5 to 6 metres. This will help save on installation time (you’ll have fewer boards to cut) and can often make the finish look much neater.
4. Fixing the decking boards
How you install your boards will depend on whether you’re fixing them with screws or with hidden clips. Pay particular attention to the fixings required. If using clips ensure you use the specific ones for your brand of decking, if using screws, again be sure to use the recommended types.
Installing composite decking best practices
Safety first
As with any project, safety should be your number one priority. Please use safety goggles, gloves and a face mask – these will help to protect you whilst cutting and installing your new composite deck.
Screws and screw placement
The types of screws you use and where you place them can make or break your new composite decking installation. For example, on Ecodek boards screw holes must be pre-drilled; screws should be placed in the second groove or 18mm from the edge of the board depending on the collection; screws must not be fitted in a zigzag pattern; and you should only use Ecodek approved screws.
Board spacing
It’s essential to leave the appropriate gaps between your composite boards, fascia, picture frame edging etc. Composite deck boards will expand and contract in heat / cold, so these gaps will allow for this to happen, without leading to warping or buckling. The gaps will also ensure that the decking is well ventilated which is essential to the longevity of your installation.
Each manufacturer will have its own suggested spacing, but here at Ecodek we recommend a gap of no less than 5mm between each board, and 10mm at the end of the board if it is against a hard surface.
Airflow
As with gaps, it’s essential to have adequate space underneath your decking to allow for airflow. This will aid moisture evaporation and allow for drainage, preventing your base and decking becoming damp.
Read the manufacturer’s instructions!
As always, read the manufacturer’s installation guidelines before you start installing your new composite decking. It will include details on what tools you’ll need and the order in which you should install your deck boards. Doing this will help guarantee a professional finish that has been built to last.
If you have any questions regarding DIY composite decking please call our friendly, expert team today on 01978 667 840 or email enquiries@ecodek.co.uk.